Jump to the InstaRecipe if you’re in a rush and/or don’t want any Dad Advice!
December 08. Dear Kids– It’s everyone’s favorite time of year- Hookie Cookie Day! The day when we should all stop what we’re doing, especially if we hate what we’re doing, and make cookies for the holidays!
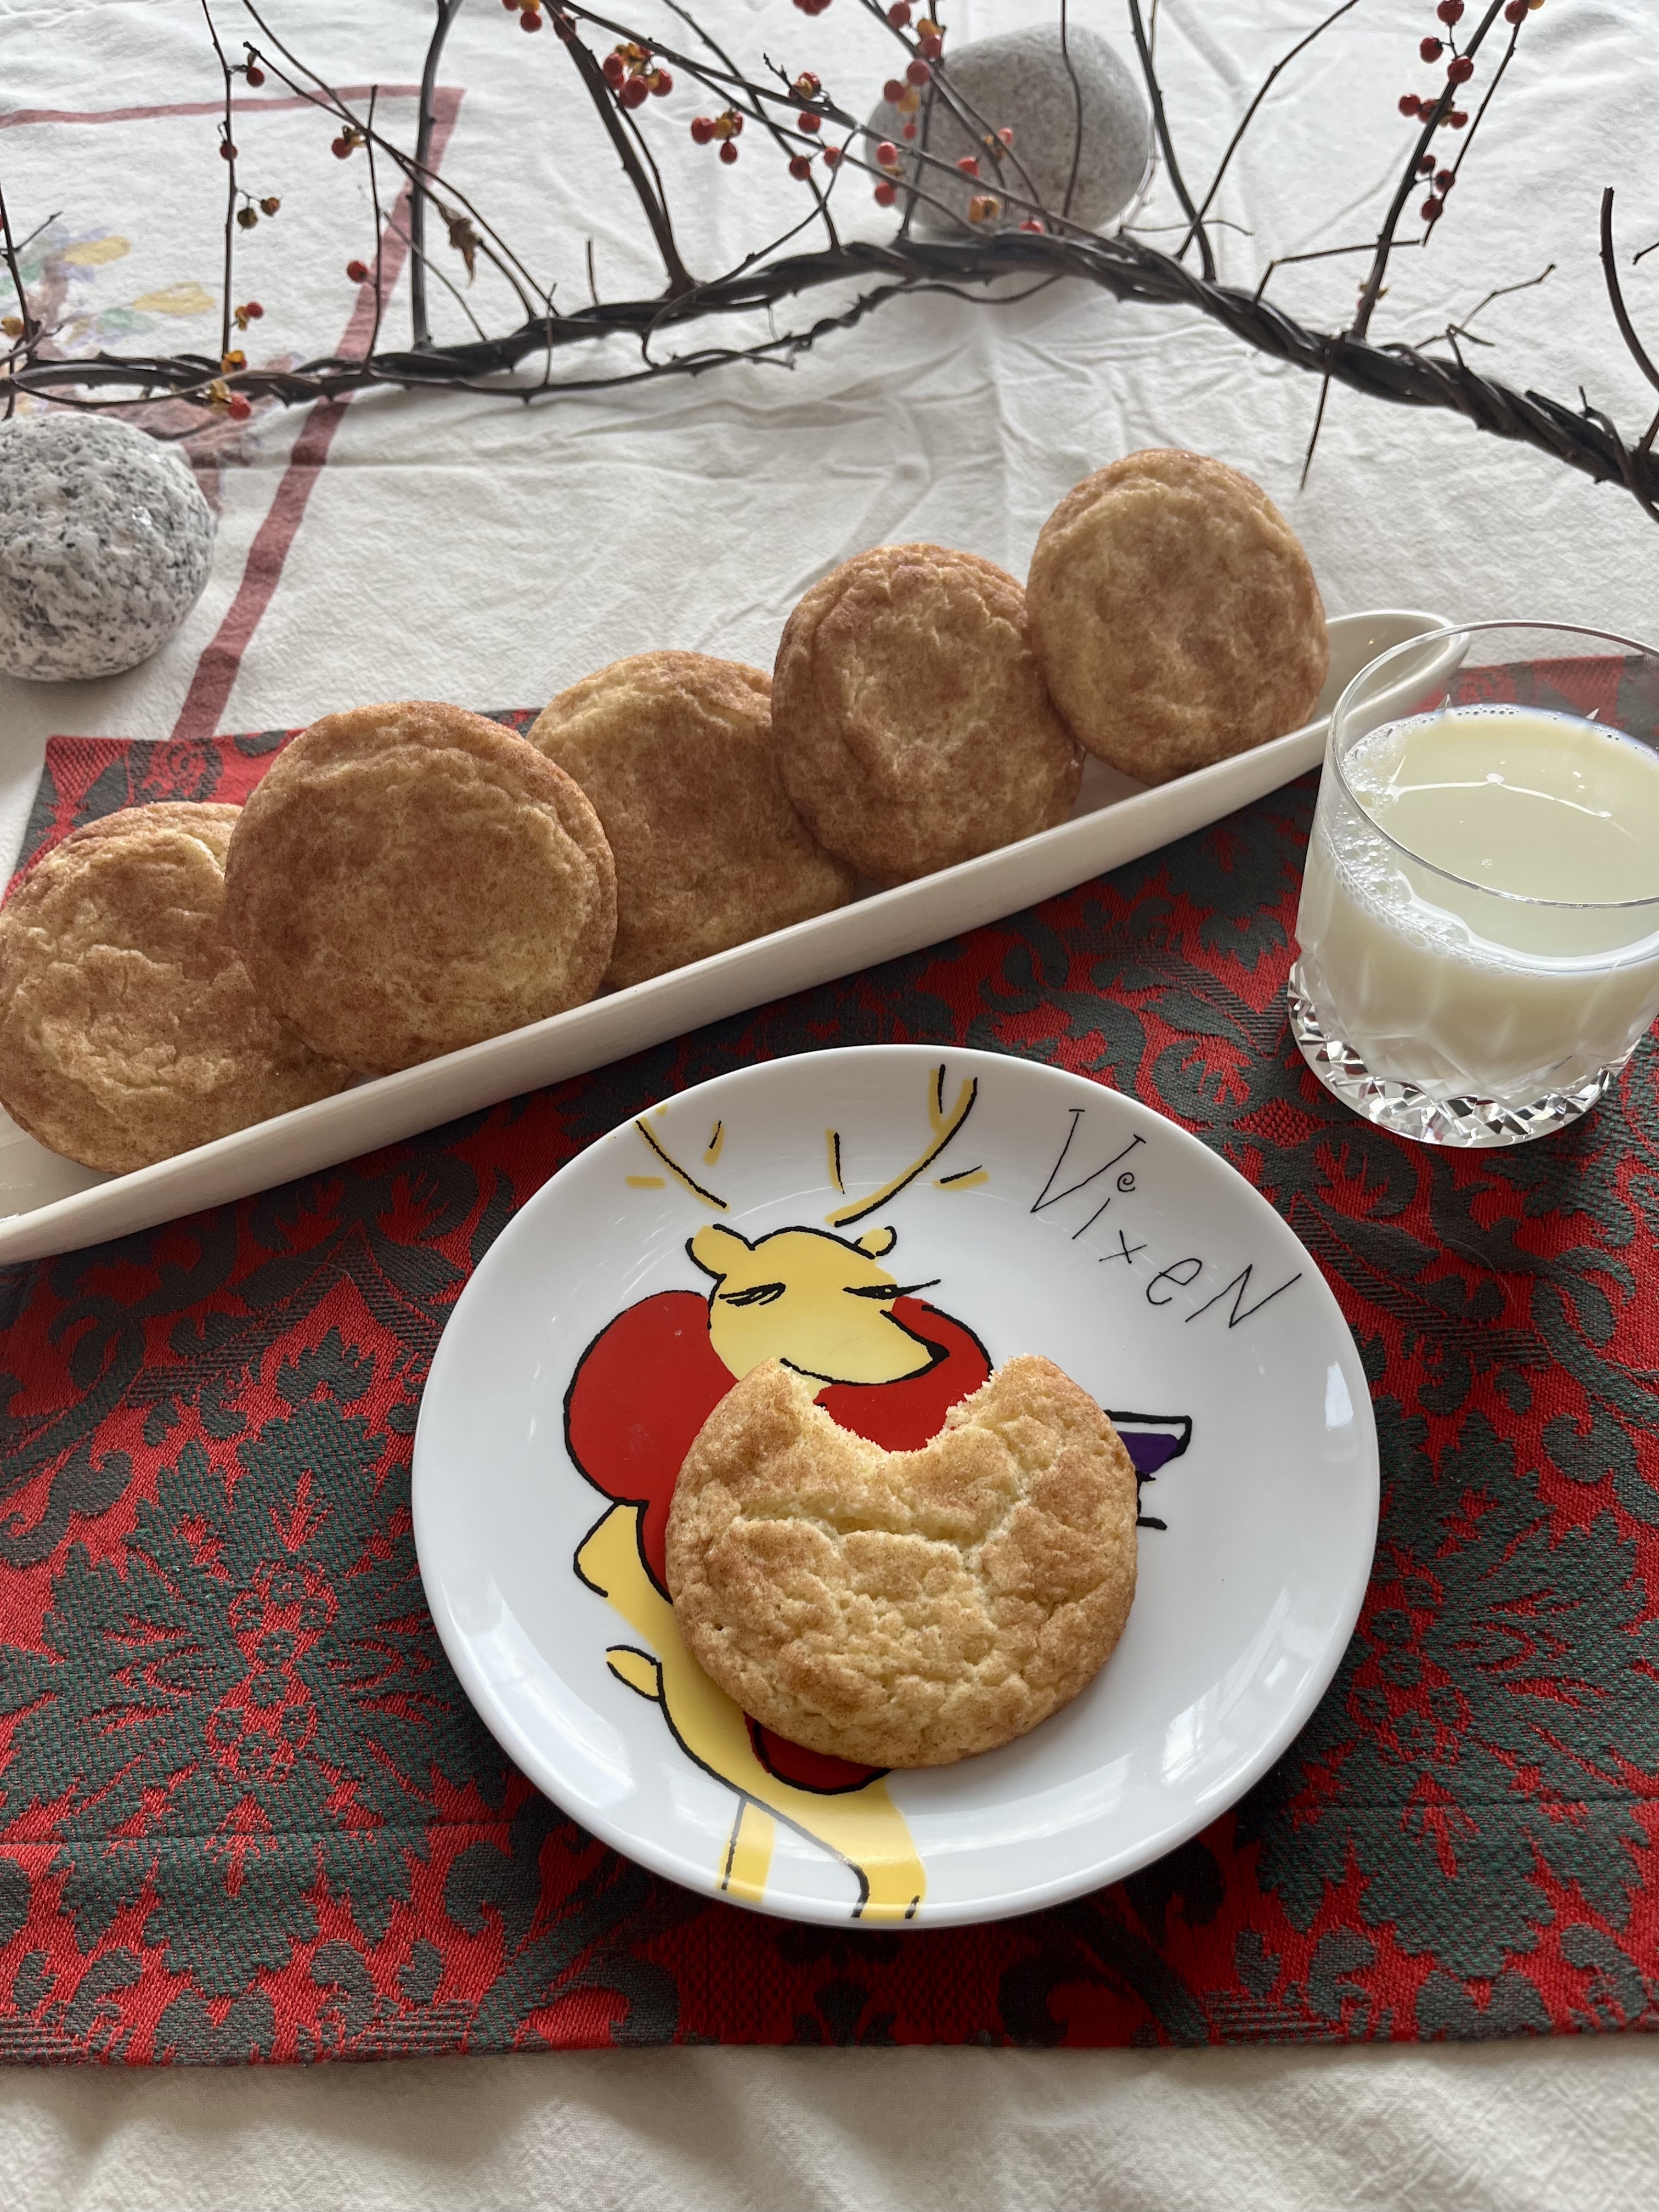
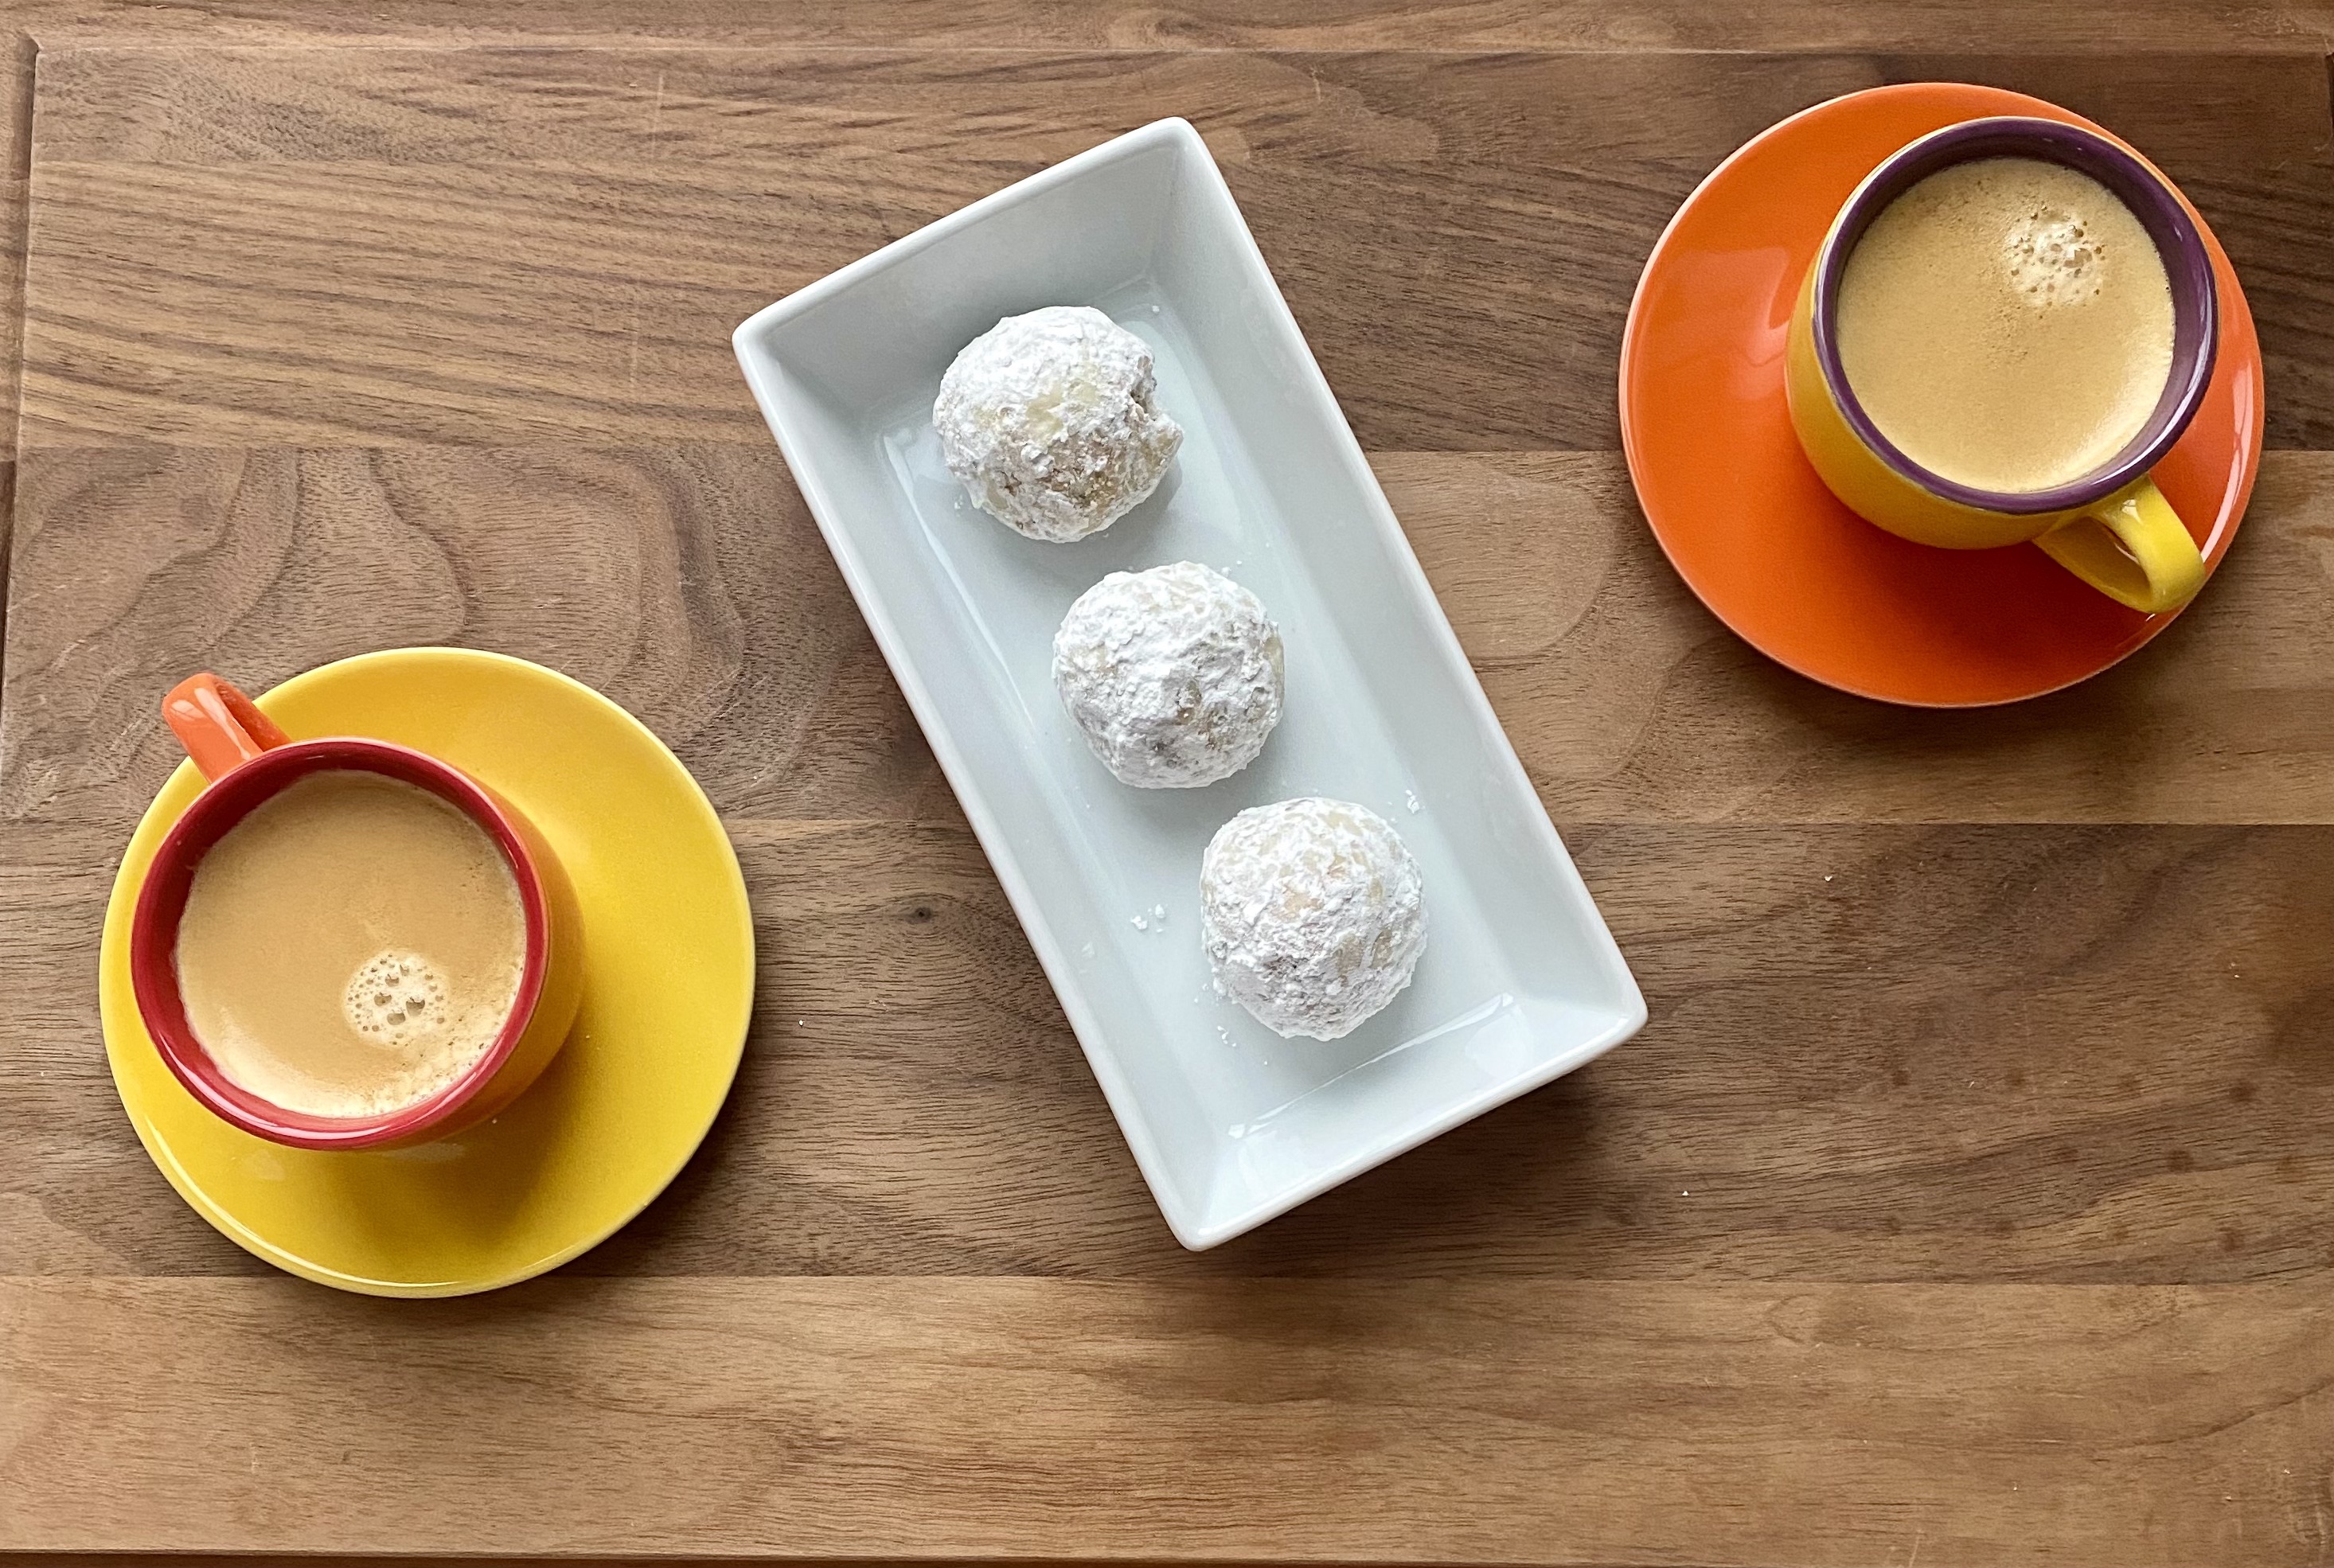
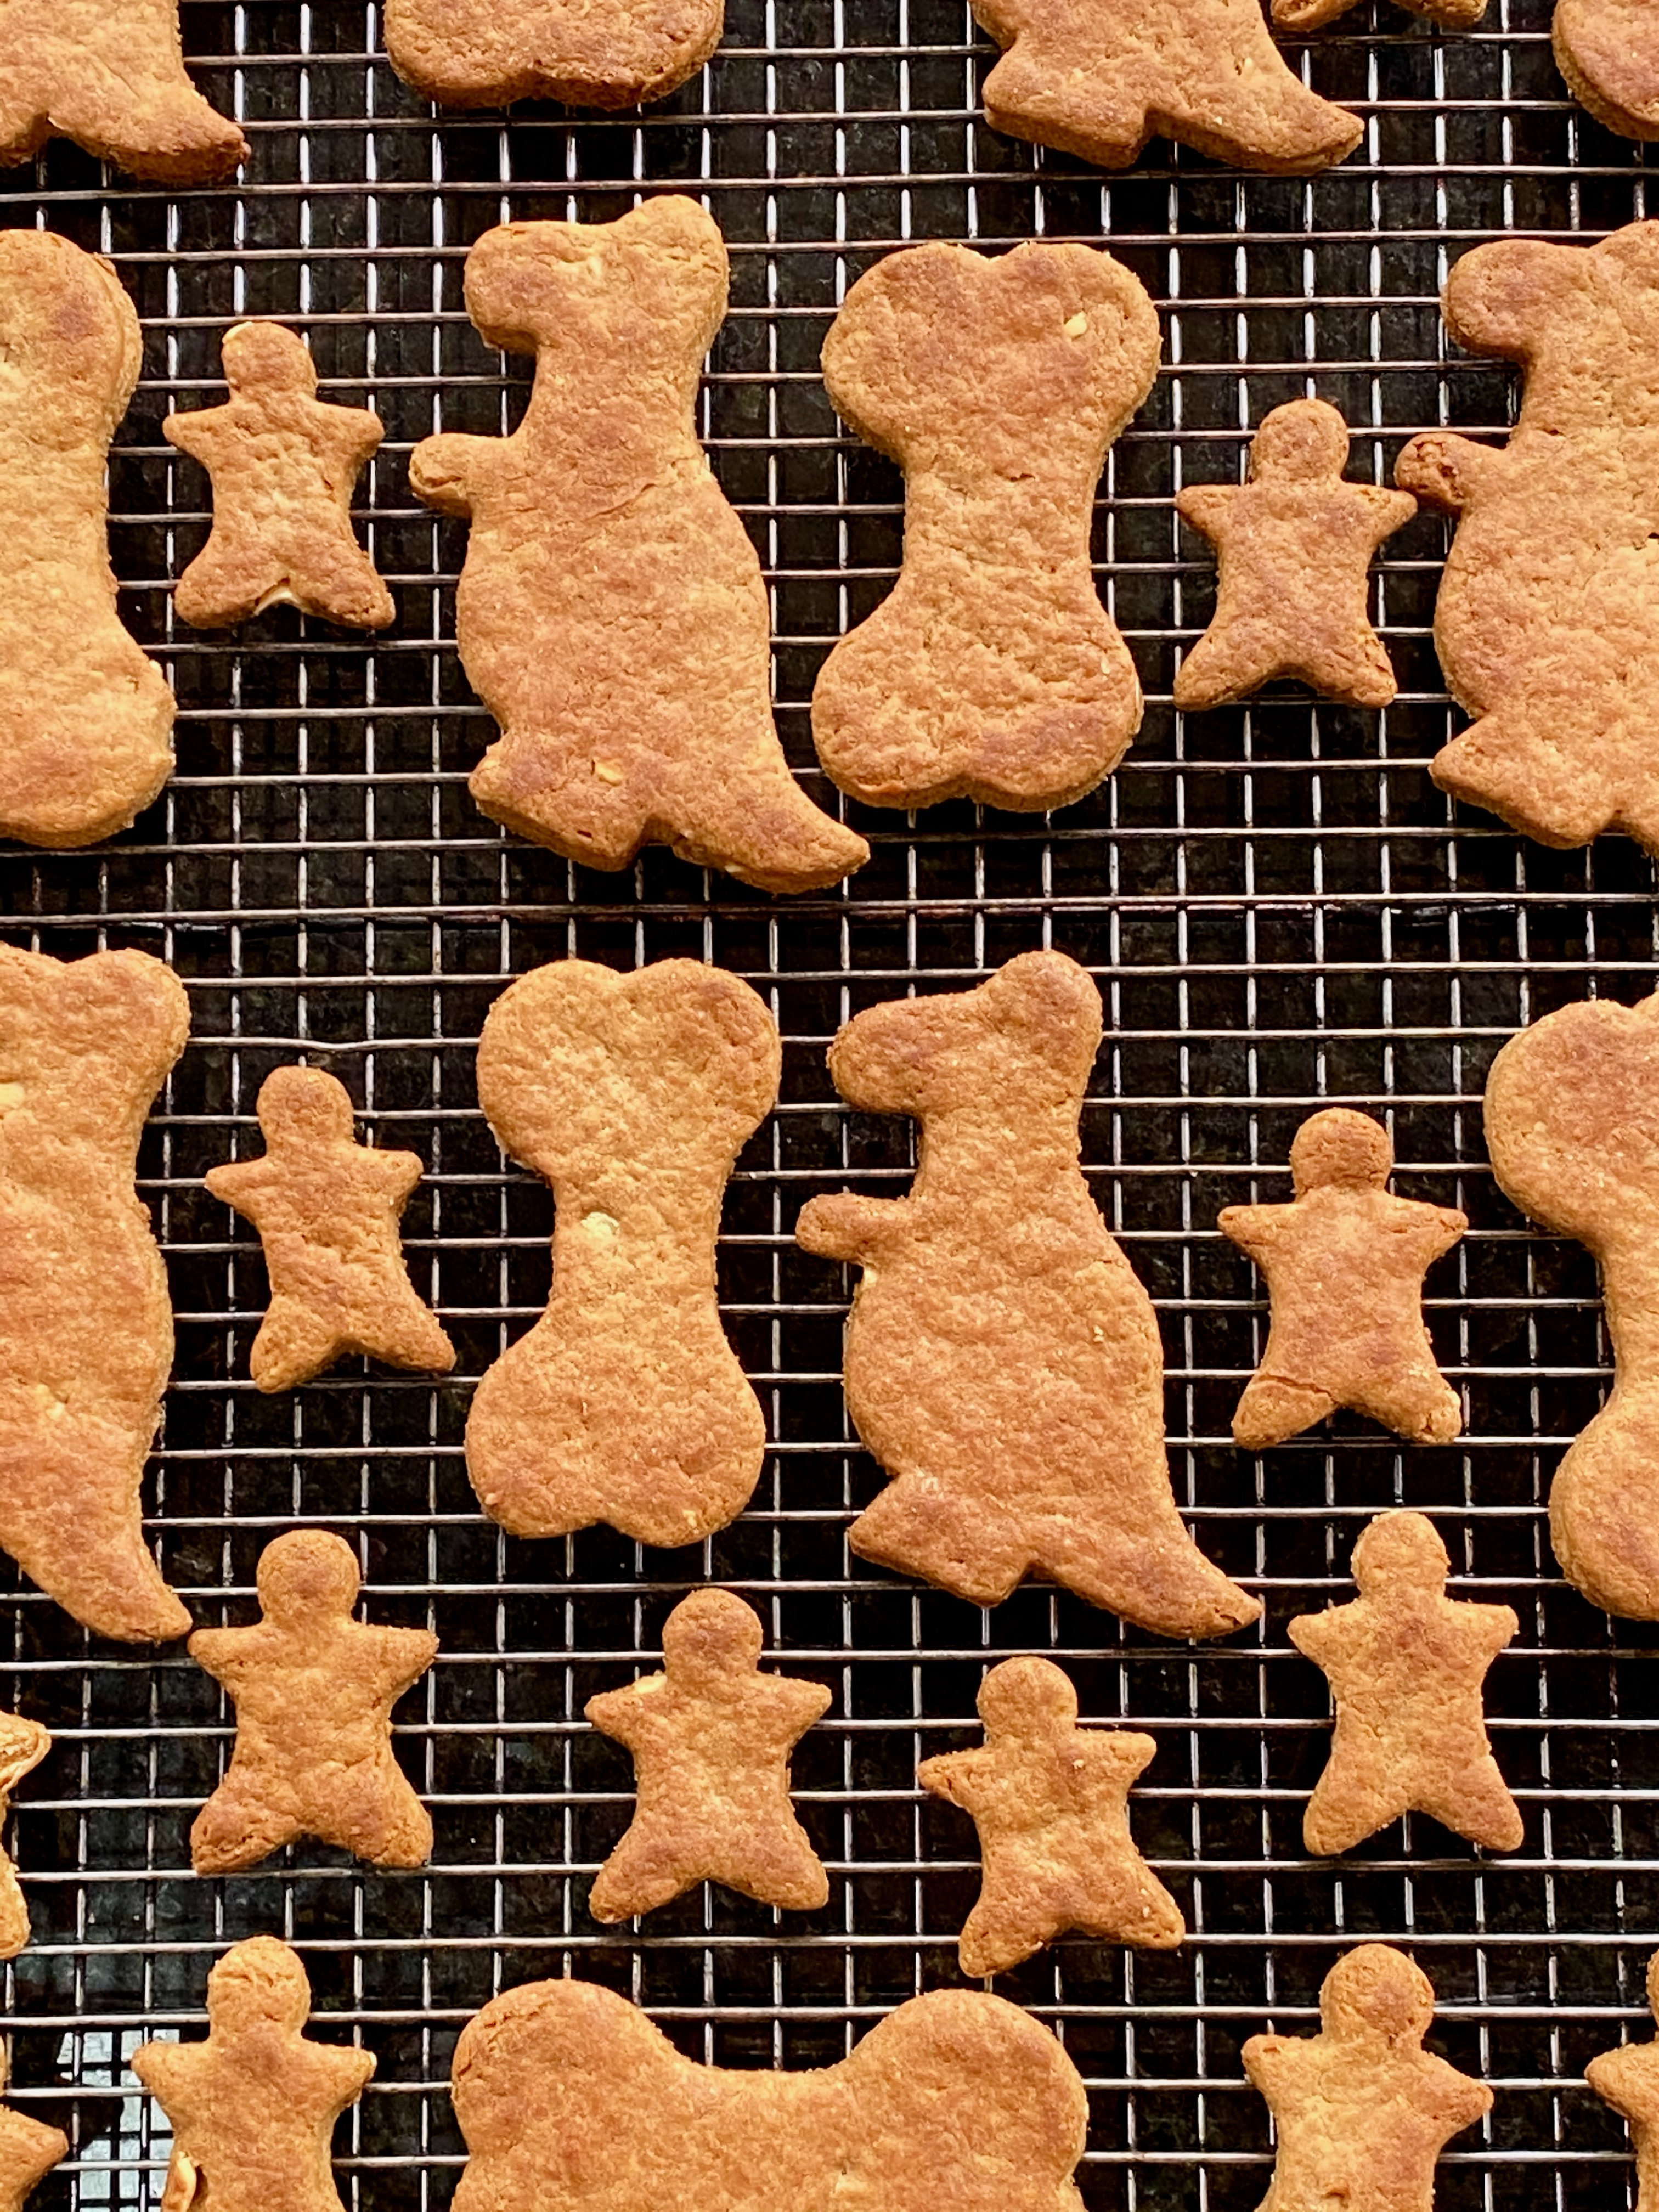
I’ve covered our family’s favorites over the last few years- my youngest child’s and The Dad’s , Mom’s and GM’s, as shown below- but not yours, my Eldest Child.
You were undaunted by a particular parent’s “suggestion” to make “holiday” themed cookies; instead, you steadfastly made the cookie of your dreams- chocolate chip cookies- year after year. The recipes you baked varied over the years- starting with a few recipes I had kicking around and then you moved on to experiment with recipes you found online, as your confidence and palate expanded. That was until that dreaded day, some time ago, when you came across a recipe for Brown Butter Chocolate Chip Cookies. You see, the recipe certainly intrigued you, but for some reason it also shook your confidence, and had you thinking you wouldn’t be able to make brown butter without burning it to black.
Now that’s just plain crazy and, in case you forgot, I believe in you every day and I encourage you to always go after all the good things in life no matter what you or anyone else thinks or says- shrugging off any mistakes made along the way as a valuable learning opportunity. Heaven knows I’ve made many mistakes, especially with food (and otherwise) and specifically with brown butter.
Let’s also not forget, you ruled over preschool spelling tests, overcame a horrible and skeptical math teacher to get into advanced math, made it through an Ivy League school with flying colors and stand up for yourself everyday to be the person you truly are to highlight just a few of your accomplishments- surely brown butter is no match for someone like you!
I offer this recipe to you as a way to overcome your brown butter trepidation and perhaps as an opportunity to make a few learning “mistakes”. I mean, after all, it’s just butter and sugar in the end- both of which are easily replaceable for a fresh start if need be. Most importantly, once you perfect your brown butter technique you will be rewarded with a remarkably delicious cookie I developed with you in mind and heart. I have to say, these cookies are among the best, if not the best, chocolate chip cookies I’ve ever tasted. Also, as Dad’s like to do, I’m adding in another “learning opportunity” just to show you how much confidence I have in your abilities with a recipe for this caramel sauce– a recipe with a similar technique to the brown butter technique that has you dancing on the edge of deliciousness and disaster- you’re welcome!
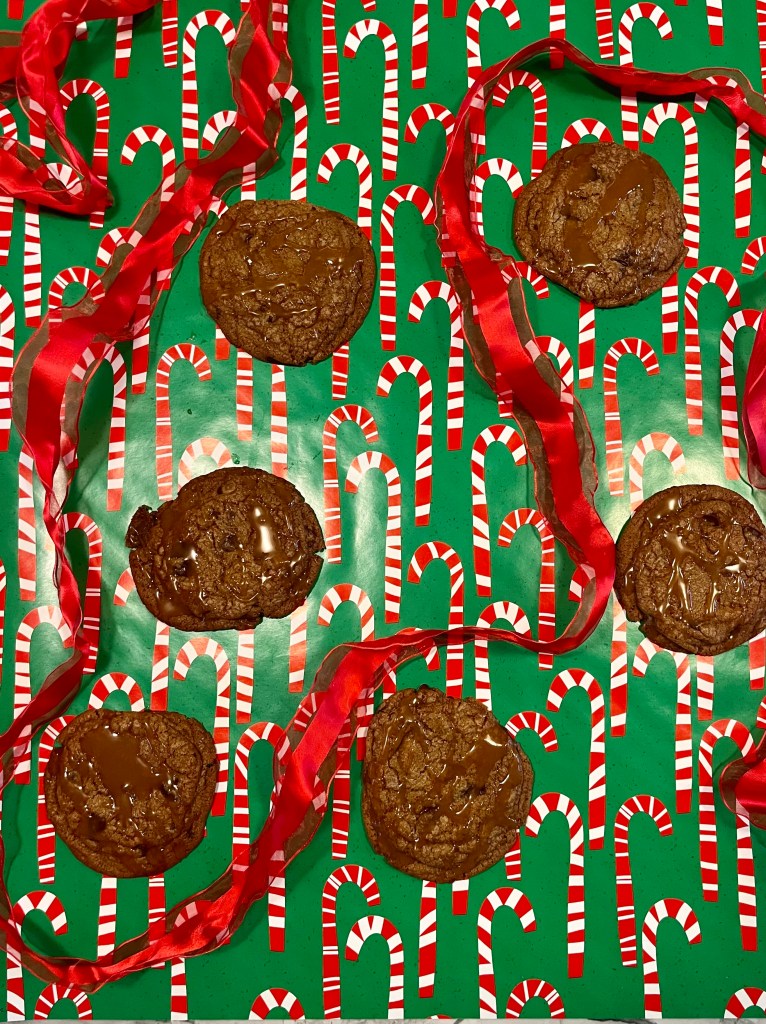
As for flavor, this cookie is bursting with rich notes of caramel, butter, chocolate and decadence. Yes, I will admit, you couldn’t fit more food buzzwords in a recipe title- I mean “Salted Caramel”, “Brown Butter”, “Espresso”, “Dark Chocolate”- but it just so happens that these are flavors that are among your favorites, so I make no apologize for any related buzz.
So, that’s my Dad Pep talk and now it’s time to get out there and brown that butter and caramelize that sugar on your way to chocolate chip cookie perfection!
Diet: Vegetarian
Prep Time: 25 minutes with optional dough resting time of 2-24 hours
Cook Time: 10-15 minutes/batch- PS. you can cook two batches at a time (See The Lecture)
Servings: A big platter of cookies! About 20 or so, 3”+/- cookies if you need more specifics.
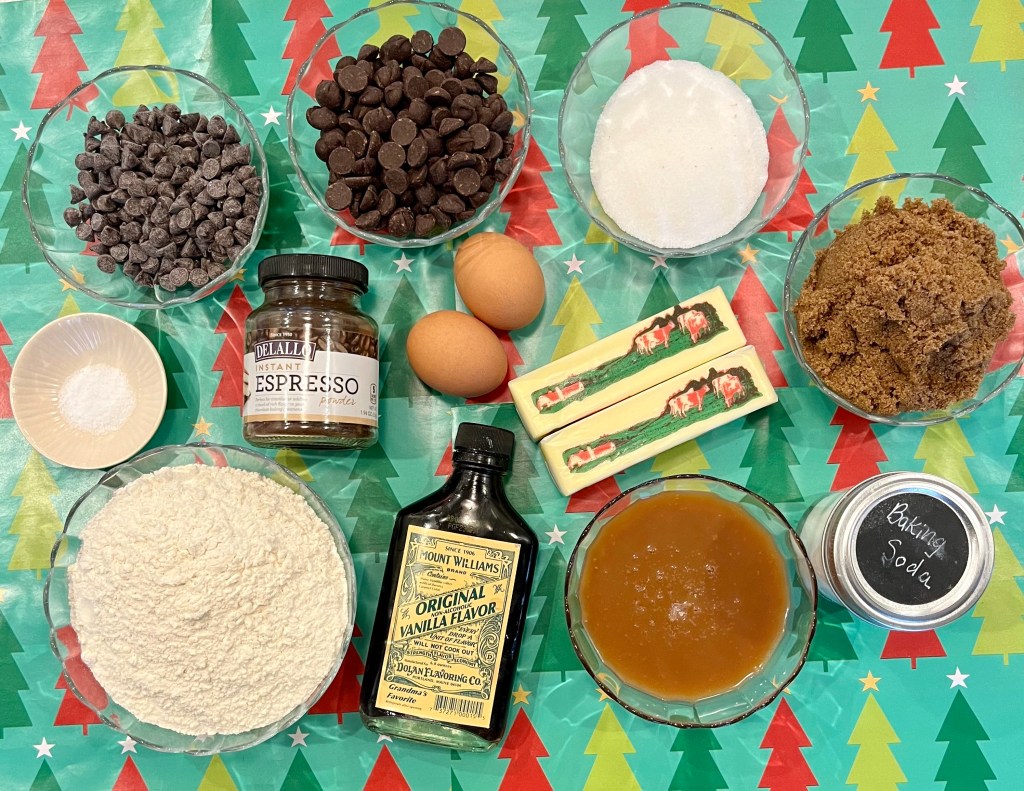
GET YOUR STUFF OUT
- 8 ounces (1 cup or 2 sticks) unsalted butter
- 1 cup packed light or dark brown sugar
- 1/2 cup granulated sugar
- 1 large egg
- 1 large egg yolk
- 2 teaspoons vanilla extract
- 1 tablespoon sour cream, optional
- 280 grams (2 1/4 cups) of all purpose flour or a 50/50 mix of all purpose and bread flour (bread flour gives a a bit more crisp)
- 1 teaspoon baking soda
- 3/4 teaspoon kosher salt
- 1 teaspoon espresso powder, optional
- 10 ounces dark chocolate chips- about 60%+/- cocoa or combination of chips with various percentage of cocoa
- 1/3 cup DDD Salted Caramel Sauce or Scaredy Cat Salted Caramel Sauce in Lecture (or store bought, but why would you?)
COOK AND PLAY
Play “Disco Inferno” by The Trammps, with the catchy chorus of “Burn Baby Burn” so you can confront and overcome your fear of burning the butter and caramel while you don’t burn either.
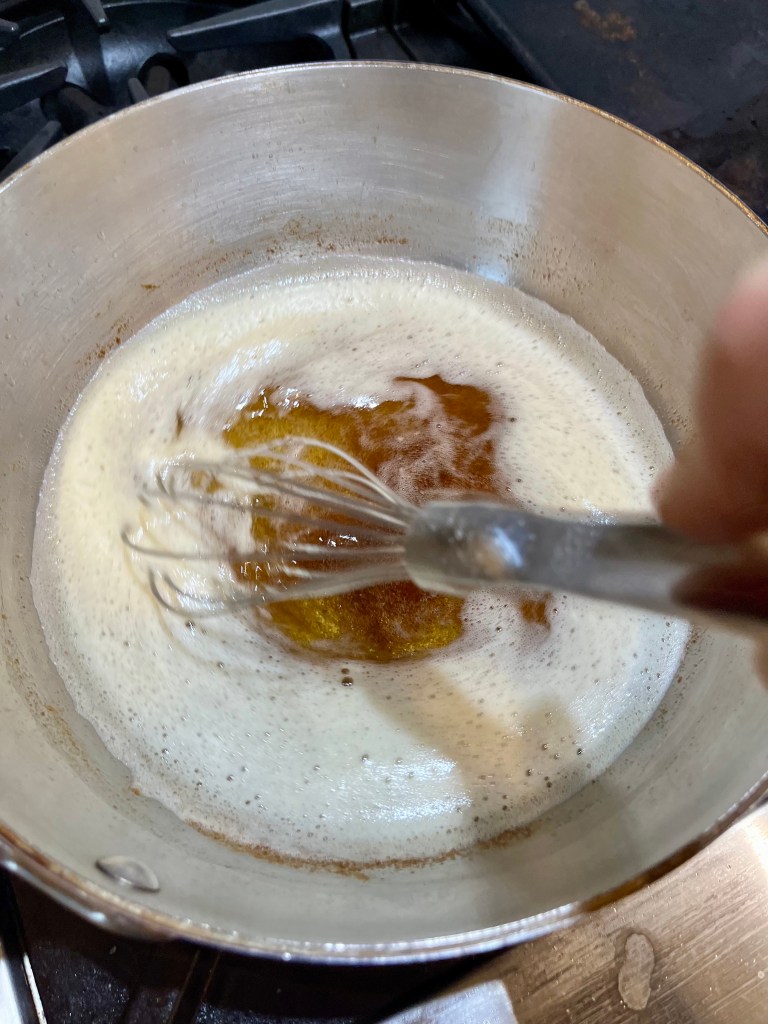
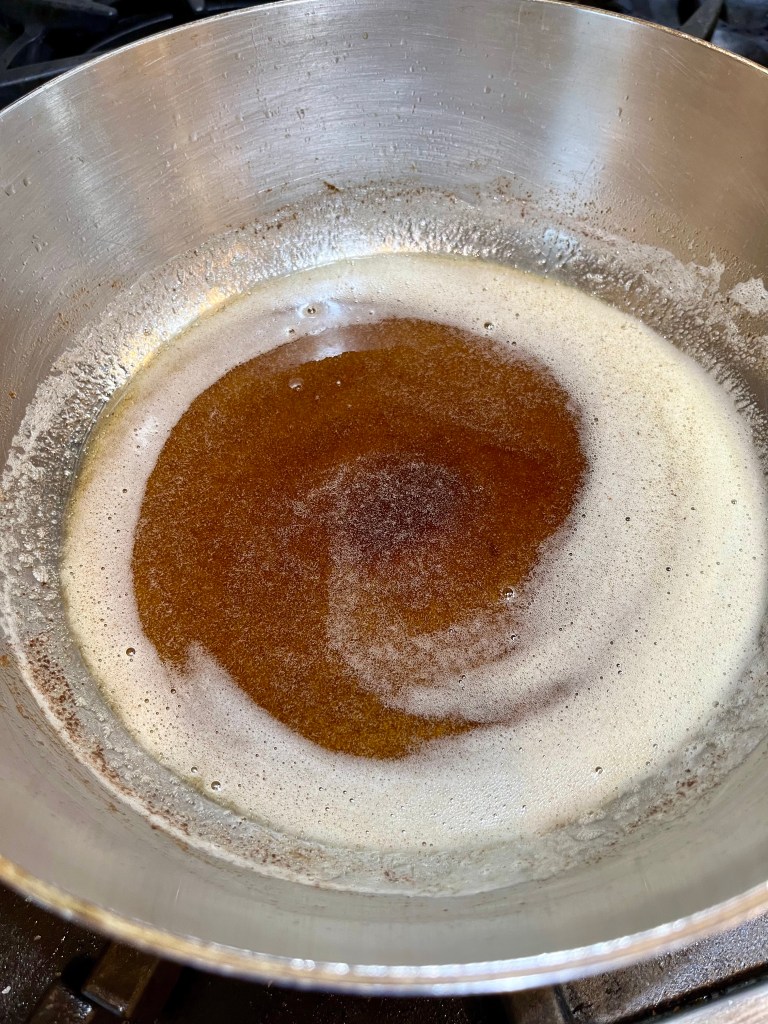
1. I Believe In You Brown Butter. Place large saucepan over medium low heat. Add butter and promise me you will not take your eyes off of it. Once it melts, sputters, foams and you start to see brown bits on the side of the pan, whisk butter constantly- scraping off brown bits from the side- on it’s journey to savory goodness. As soon as the solids turn the butter a rich amber color, immediately take pan off heat and carefully pour butter into a medium bowl. Until your confidence and experience grow, it’s best to pull butter off heat sooner, rather than later. Set butter aside in fridge until it becomes firm- 15-20 minutes, then bring to room temperature before moving to the next Step.


2. Salted Caramel. If you’re making your own salted caramel, now is the time to make it. If you do, you’re even more awesome than you already are and be sure to read the recipe carefully as it’s full of great Dad Advice for safe and great tasting salted caramel.
3. Wet Bowl. Preheat oven, with a center rack, to 350° or see The Lecture for tips on baking two batches at a time. Use and electric or hand mixer to mix the brown butter and sugars until combined- 2-3 minutes. Beat in the egg, egg yolk, sour cream, if using, and vanilla until combined- 1-2 minutes. PS- I used a whisk and a rubber spatula to mix my batch, which takes a bit longer, but I wanted to show you that you could do the same if you don’t have an electric mixer.


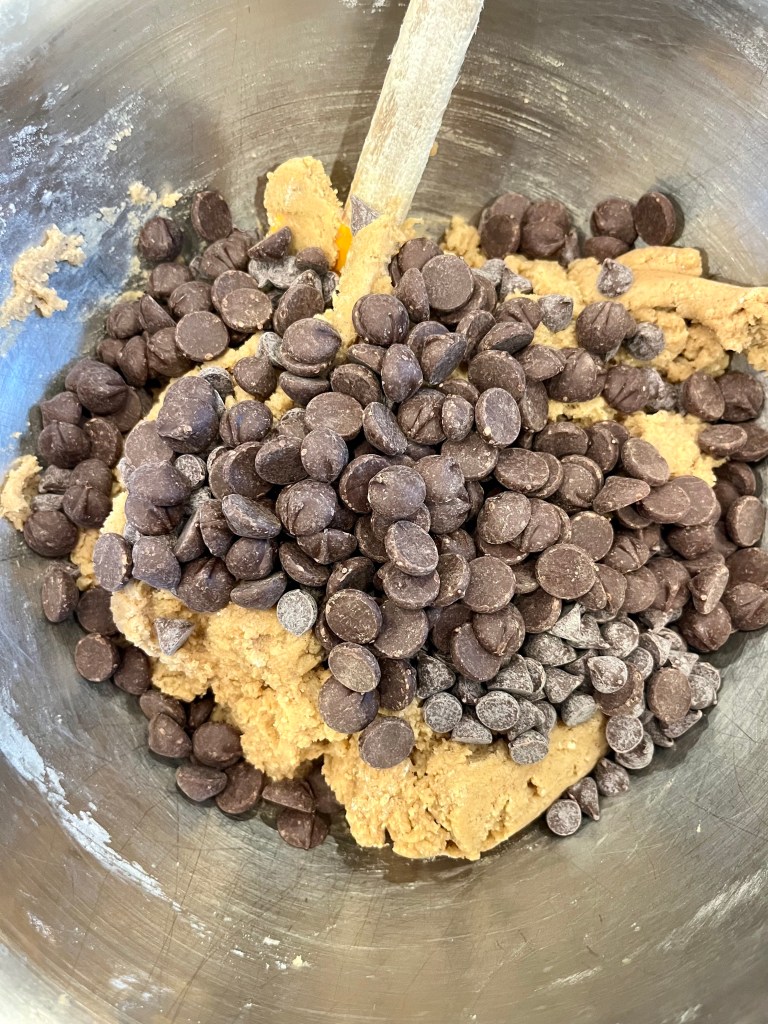
4. Dry Bowl. In a separate large bowl, whisk together flour, baking soda, salt and espresso powder, if using. Slowly add half this mix to the butter-sugar mix and beat on low-speed just until combined and them add remaining half of this mix until just combined. Add chocolate chips and mix or fold in until evenly incorporated into dough.

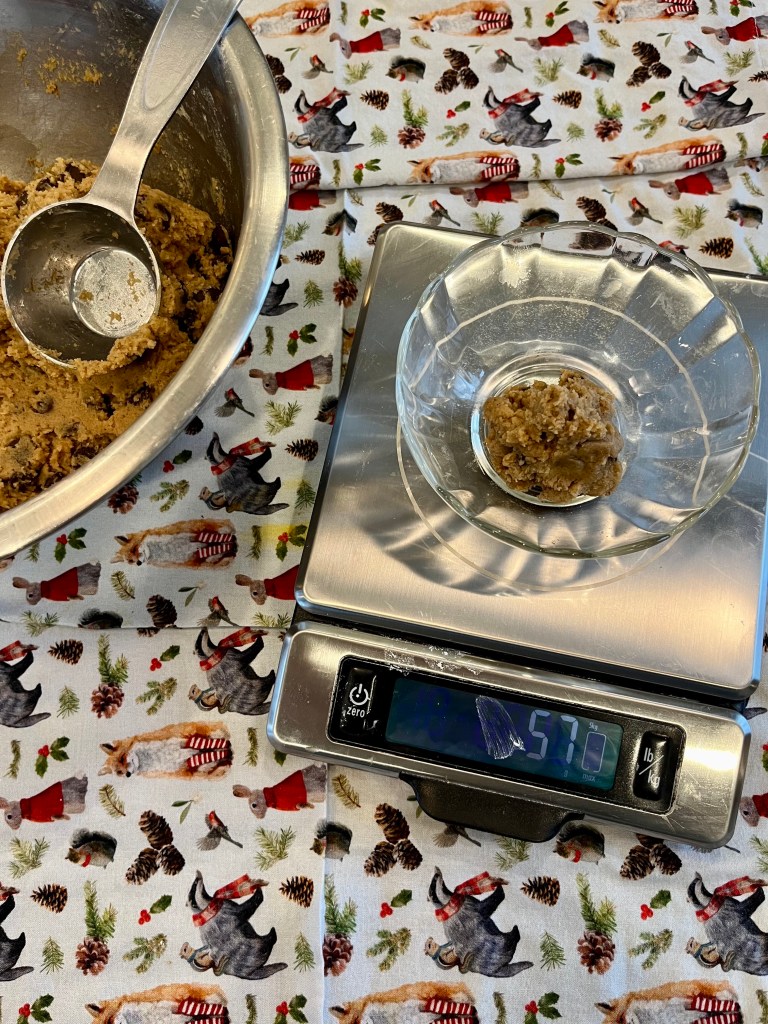
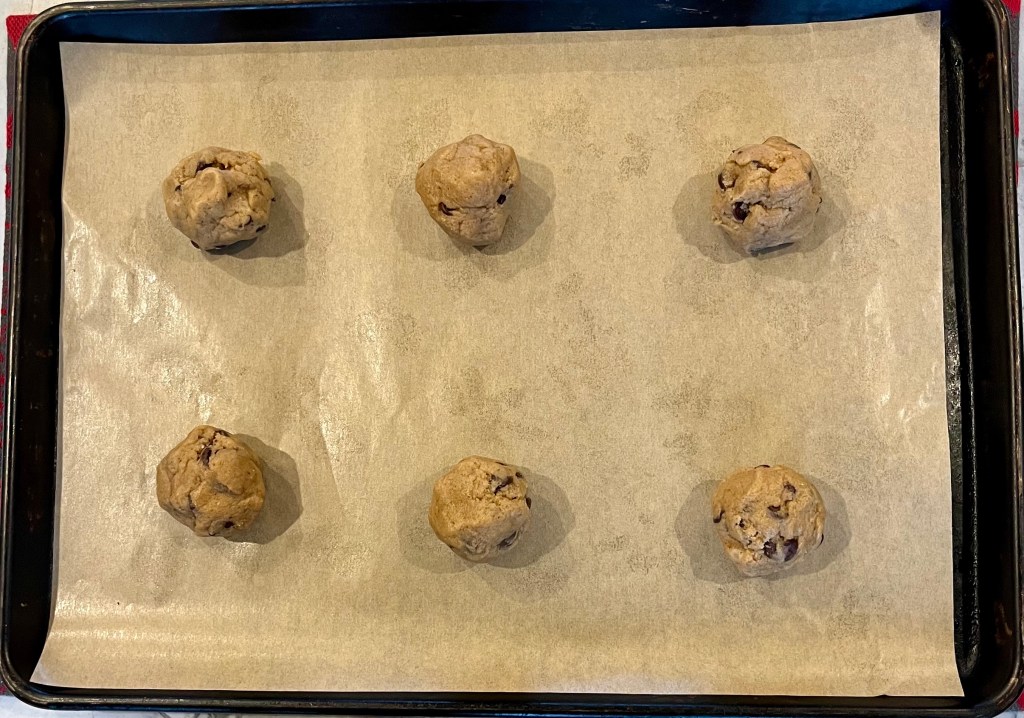
5. Get Rolling. Use a measuring cup or your very clean hands to form balls of dough that equal about 57 grams (2 ounces or 1/4 cup), and place about 2” apart on a baking sheet lined with parchment paper. If you have the time, many folks think the cookies taste better if you cover and chill the dough balls for 2-48 hours- try it if you’re the curious type with time on your hands.
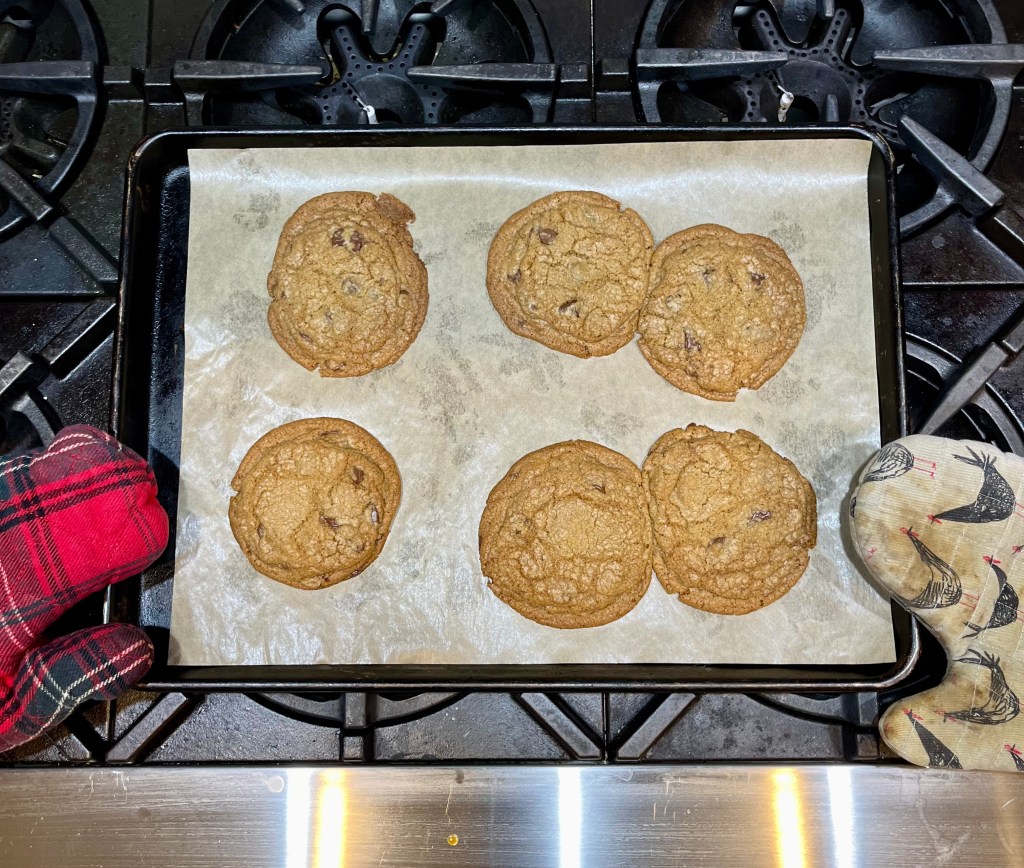
6. Easy Bake. Bake until the edges of the cookies look crispy and the rest of the cookie is a nice golden brown, without the center being completely set- 10-15 minutes.
7. Be Cool. Put cookie tray on stove or heat proof service for cookies to set for 5 minutes. Transfer cookies to wire rack. Repeat baking and cooling with remaining cookie dough and set aside tray with parchment for decorating when done.
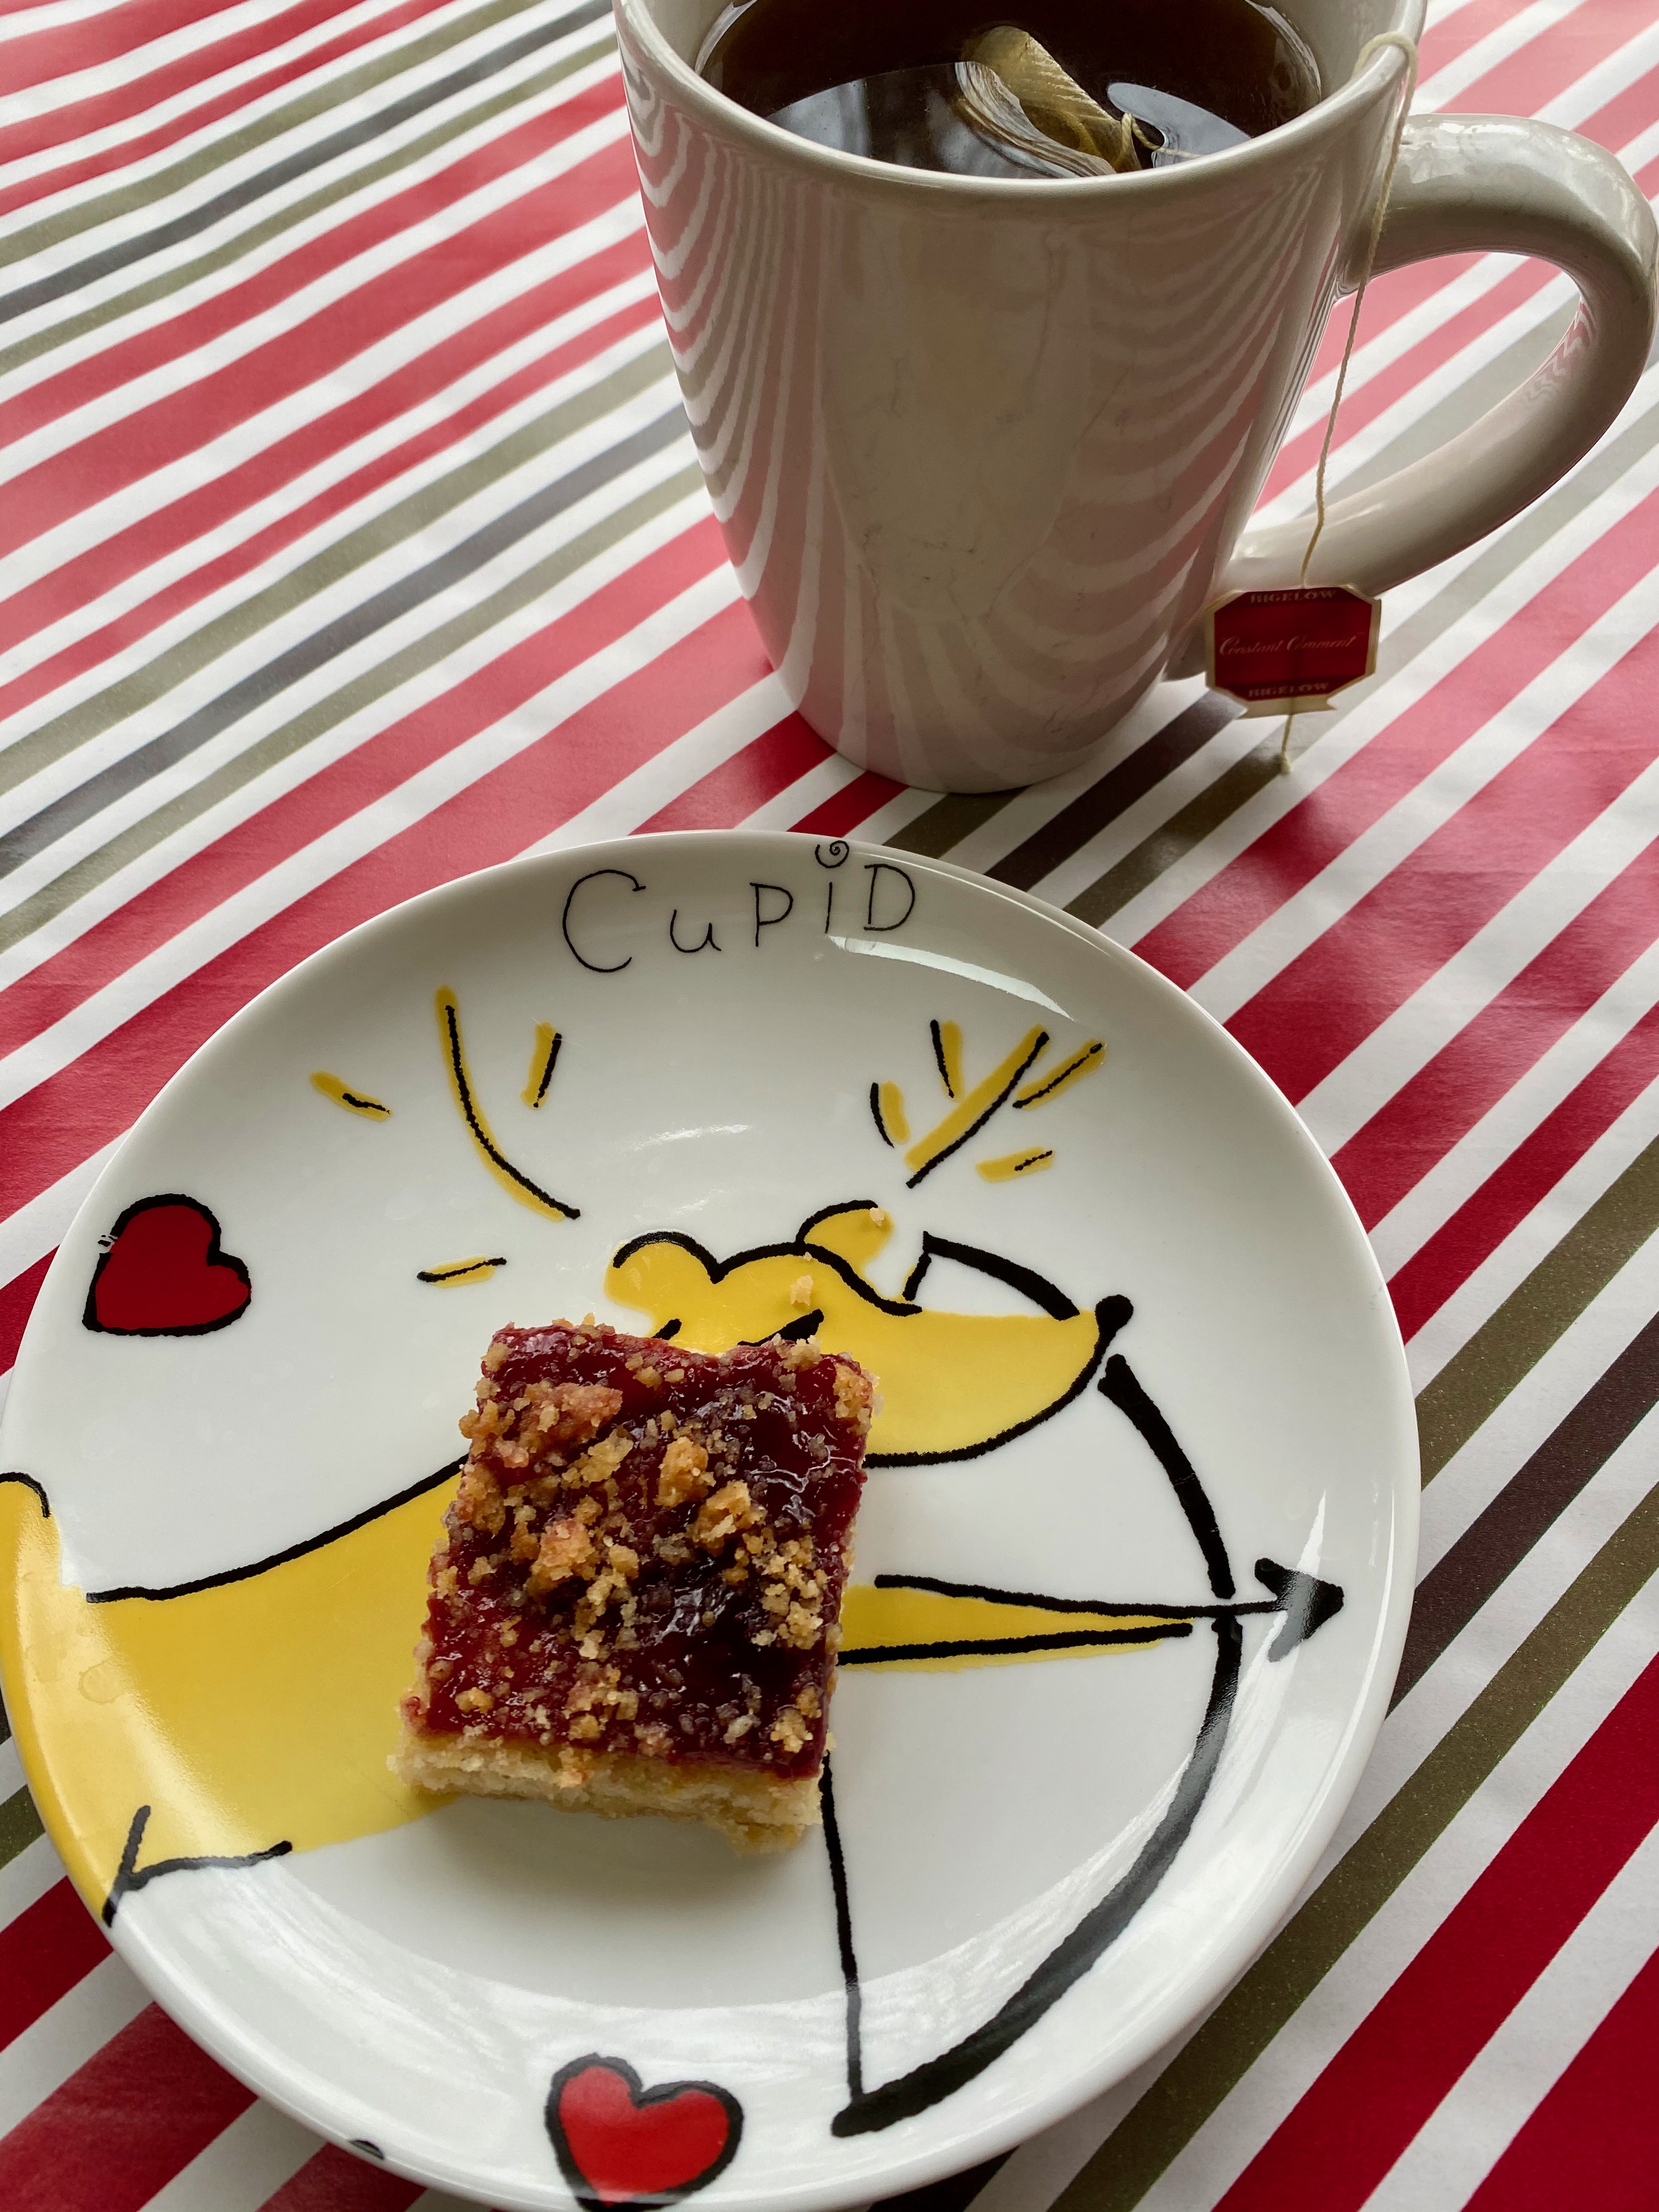
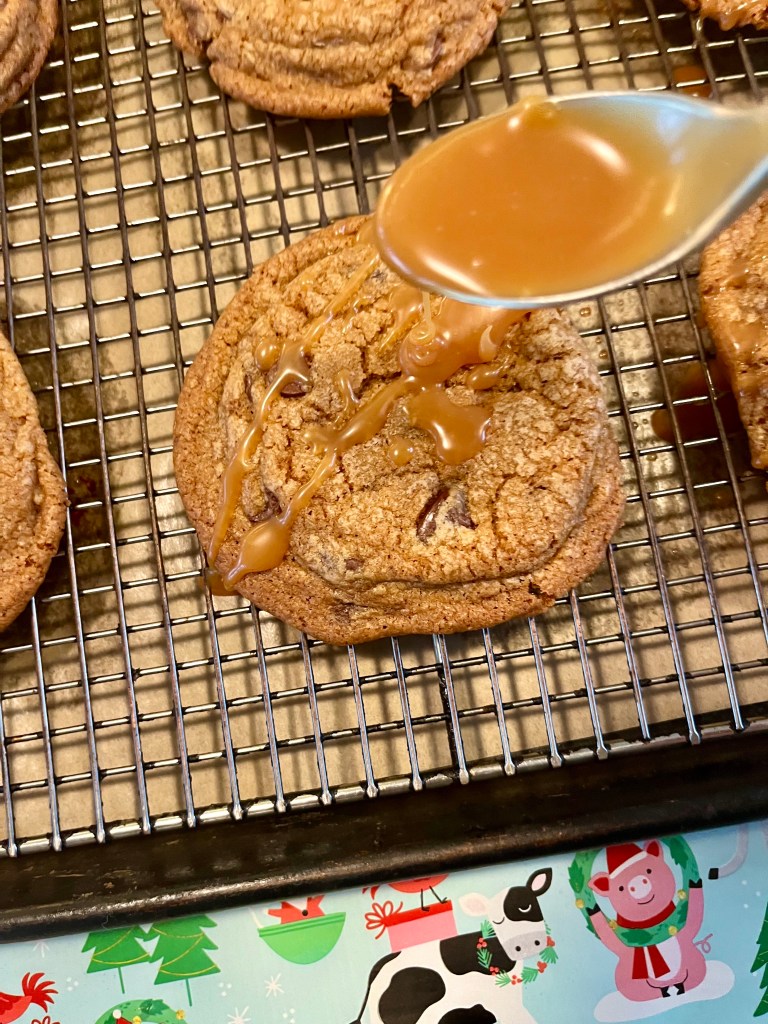
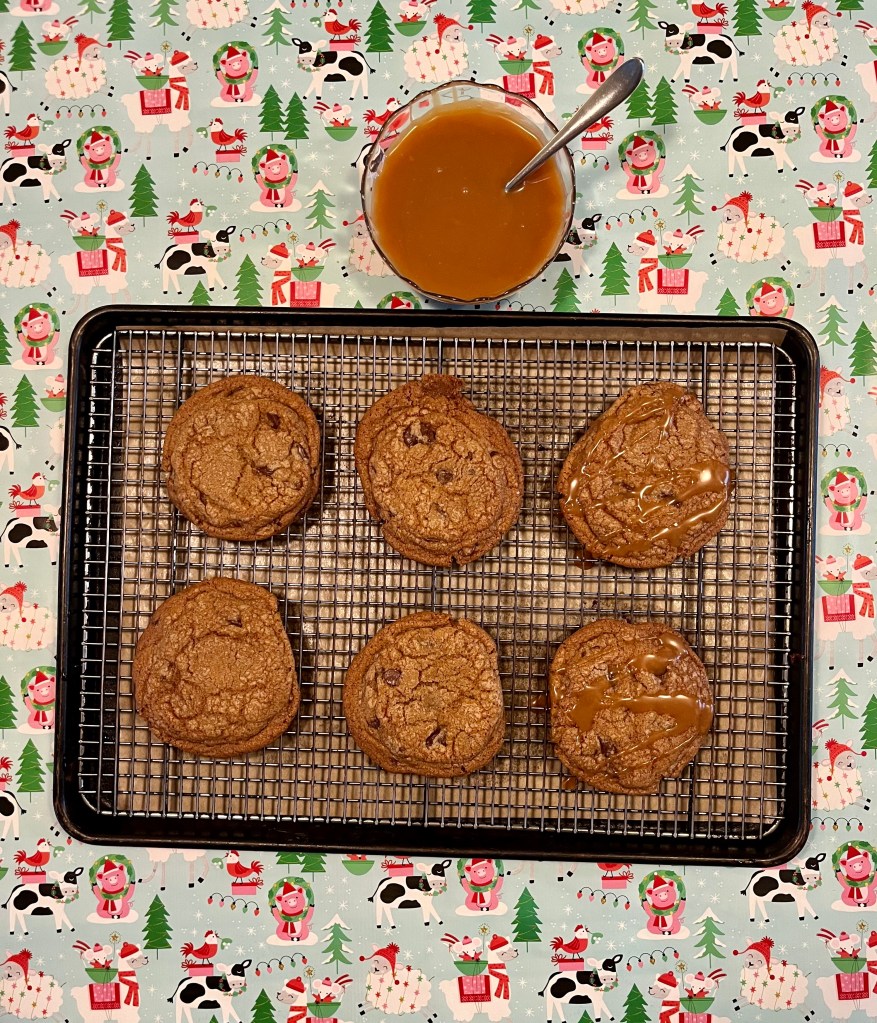
8. Drizzle Me This. Once cookies cool to room temp, place rack in baking sheet, with used parchment between rack and sheet for easy clean up, and drizzle cookies as you wish with salted caramel sauce.
THE LECTURE
Scaredy Cat Salted “Caramel” Sauce. Of course you can make this traditional DDD Salted Caramel Sauce, which has an element of danger when cold and very hot ingredients combine, and requires a technique similar to the technique used for brown butter, or you can try this easier and safer version that also sets up a bit thicker- heat 4 tablespoons of butter and 125 grams (3/4 cup + 2 tablespoons) brown sugar, whisking constantly, in a medium heavy saucepan over medium until butter is melted and sugar is dissolved, about 3 minutes. Whisk in 3 ounces (1/3 cup + 1 tablespoon) heavy cream and 1 teaspoon kosher salt or to taste. Bring to a simmer and cook, whisking constantly, until bubbling becomes less frequent and sauce is thick enough to coat a spoon, about 5 minutes– keep in mind if you take it off too soon, the sauce will be less drizzle-able (aka. runnier).
Finally, if you are looking for caramel flavor without a sauce, take the lazy way out and just mix in a cup of toffee bits, like Heath’s and sprinkle flaky sea salt on the cookies as soon as they come from the oven- the cookies will also store a lot easier, but you’ll be robbed of the satisfaction of a job well done.
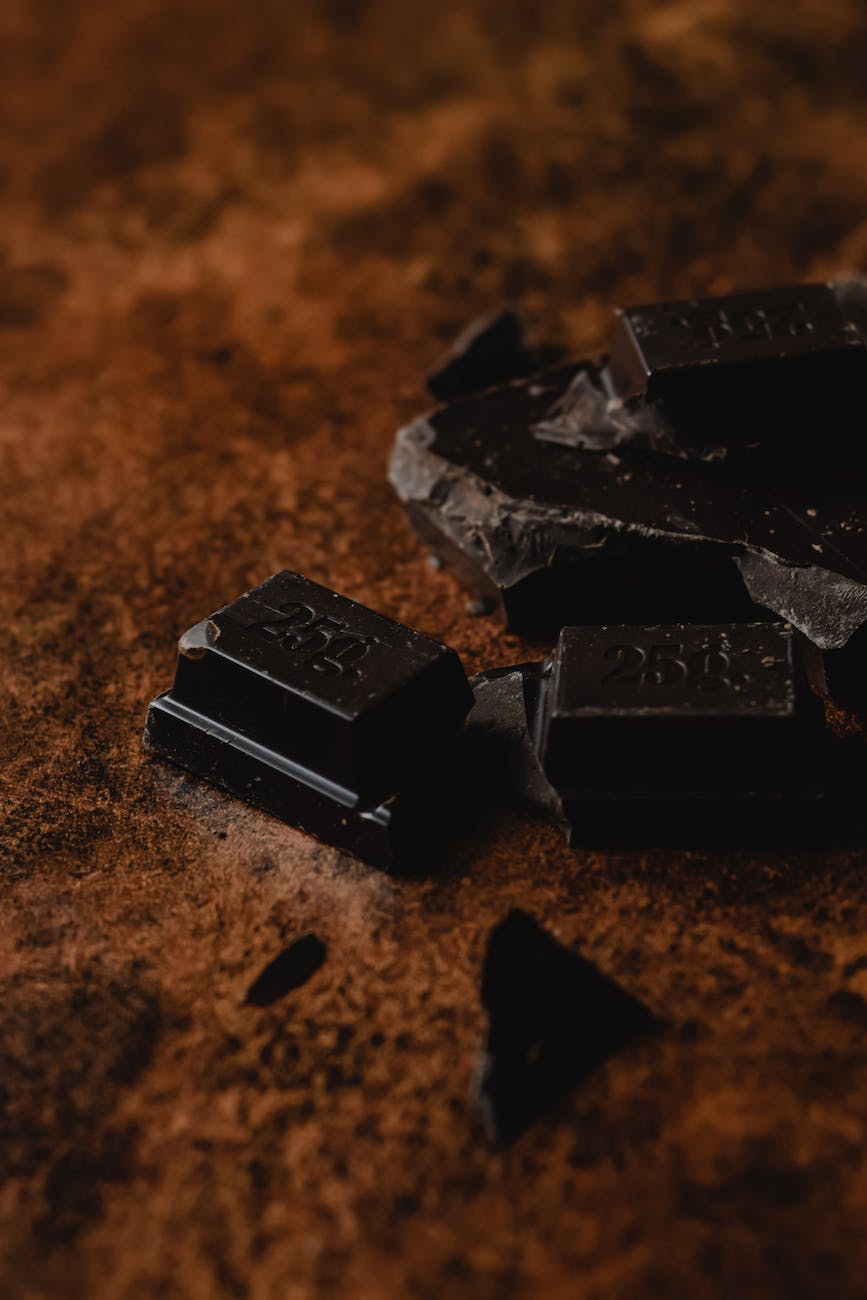
The Darker Side of Chocolate. Chocolate typically isn’t just chocolate, it has other things added to the mix, most commonly sugar and milk products. To further complicate matters, chocolates may be labeled as milk, dark, semisweet, bittersweet- with or without details of the percentage of cocoa in the chocolate.
Now, I could get into a long dissertation on the spectrum of chocolate percentages, and believe me I’m tempted to, but suffice it to say the lower the percentage of cocoa in a chocolate the sweeter and less dark the chocolate will be. So, if you like to taste the complexities of chocolate at its essence (some say bitterness, but I think that may give off the wrong impression), go with a chocolate that has a higher percentage of cocoa in it- I like the 60-70% zone (anything higher is a bit too “complex” for me), but you should really decide for yourself with plenty of sampling. Hey, you might even want to use a variety of cocoa percentages in your cookie you crazy kids! Actually, I used 6 ounces of chocolate labeled “bittersweet” “60% cocoa” and 5 ounces of chocolate simply marked “semisweet” without further clarification. Oh, and if you do want a dissertation on the spectrum of chocolate percentages, check out this link.
One last thing- the chocolate in the cookies don’t have to be chips- they can be discs, wafers, chards chopped off chocolate bars or a combination of any form of chocolate pieces you care for in highlighting different textural sensations as you enjoy your cookie at another level- so mix it up and see what you think.
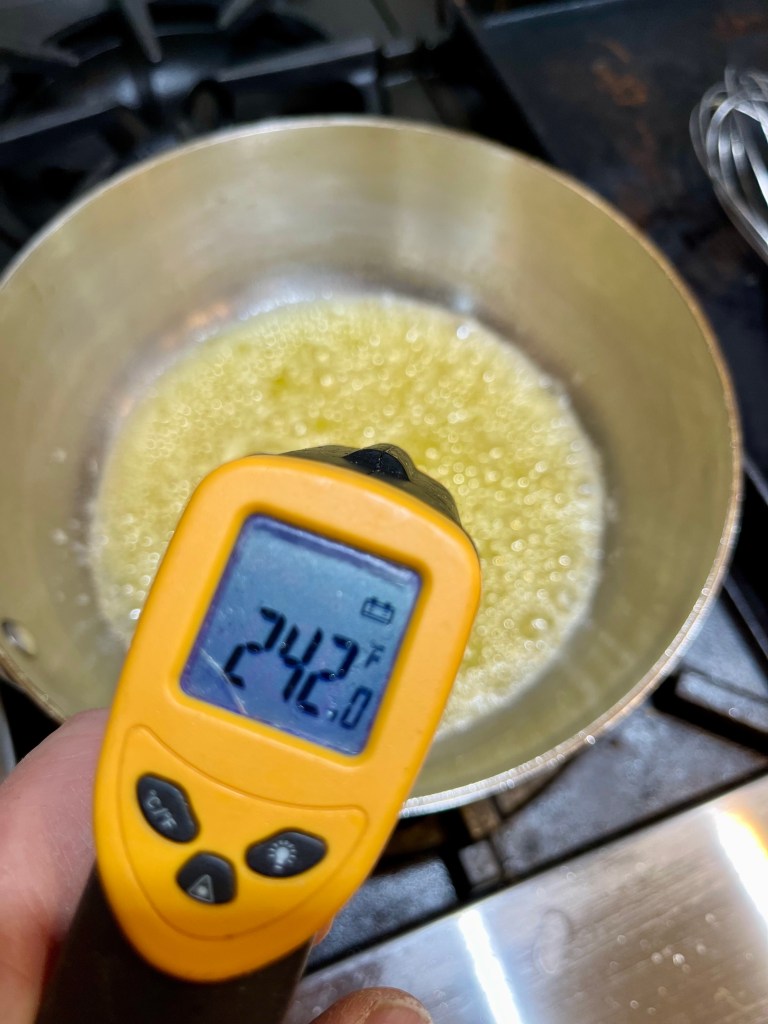
Blinded By Science. Since you are a person of science- you know, like how you help me with the sciencey stuff in the NYT crossword puzzles and, oh yah, your college degree, too- keep in mind that butter burns at 350° and sugar/caramel burns at just around 400°. If you’d like to monitor this, use an infrared thermometer to check the temperatures of your butter and caramel- I do, not because I’m sciencey, but because I love pretending the infrared thermometer is a ray gun or phaser that I zap my food with! PS- the “caramel” in the Scaredy Cat Caramel Sauce gets no where near 400°- lower 300°s- when it thickens because that sauce gets it caramel color and a bit of caramel flavor from the molasses in the brown sugar- not that there’s anything wrong with that- it’s just not a true caramel.
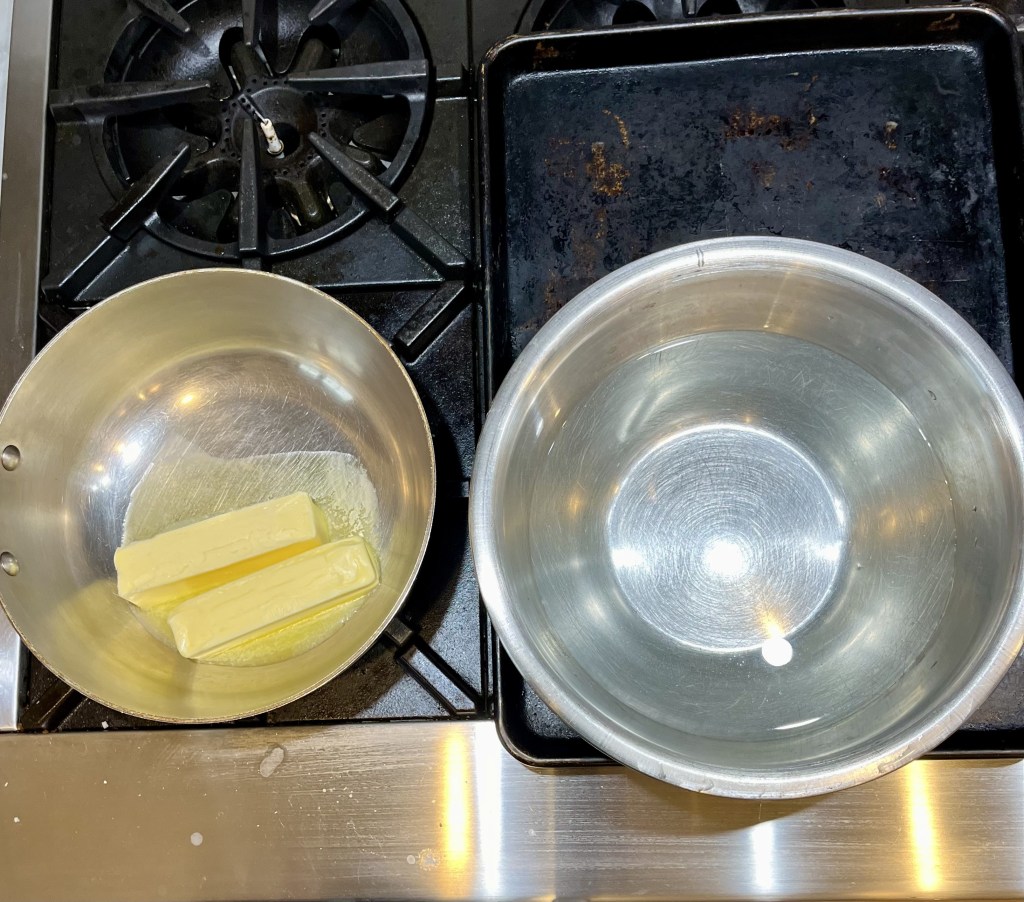
Heat Management. If you care for extra protection against burnt brown butter (aka black butter) and for a dazzling steam show, have a pan large enough to dip your butter saucepan into set up next to your butter pan. Fill it 3/4 full with tap water so you can carefully and immediately place the bottom of the butter pan into the water to immediately stop the cooking. You could do this as a precaution with caramel too, but if you’re making a sauce, the butter and cream do a nice job of cooling things down.
I set up a “safety pan” for show, not thinking I’d need to use it, but at the last minute, I accidentally and without realizing it, hit the celcius button on my infrared thermometer, creating confusion (which happens more than I like to admit) just when the butter was nearing 350 fahrenheit (about 176 celsius), so I actually ended up needing it and it totally saved the brown butter- whew!
Better Batter. Another tip that’s out there has you “aging” your cookie batter in the fridge overnight as it’s claimed to allow the dry ingredients to fully soak up the wet ingredients, resulting in better texture and flavor. This was a tip I ignored until now. After I made the first batch right from the mixer, I aged the remaining dough balls for about 28 hours.
The results- the were amazing, but so were the cookies right from the mixer- just in different ways- like you and your sibling. The cookies from the first batch were completely gone by the time I tasted the second batch (told you they were good), but the second batch, baked straight from the fridge, seemed not to spread out as much and darkened more quickly, but I can’t say the flavor and texture jolted me so much as to think it was remarkably better than the cookies I tasted just 28 hours earlier. I was also surprised the cooking time wasn’t much longer than that for the room temperature dough. As for you, I suggest you make up your own mind and try the same thing next time you bake cookies.
Drop It Like It’s Hot! I’ve also read about a technique to get denser and more lucious and “crinkly” cookies by slamming the cookie sheet of cookies on the counter a few minutes before they are done and I have to admit, I was skeptical to say the least. Well, not only does it work, it’s also very satisfying to slam the tray on the counter (I put a large, thick cutting board on the counter for slamming the tray; otherwise, Mom would have likely killed me, plus it saved my fingers from slamming against the counter). Just between us, I may have a bit of a cookie slamming addiction- I’ve done it every time I’ve made cookies since the first time I’d tried it. TBH- I slammed the cookies in this post after 9 minutes of baking and again when they were done baking and I can attest the centers were tender and chewy.


“My What Big Cookies You Have!” This recipe makes about 20 cookies that are 3″+/- in diameter. GM mentioned that the cookies seemed too big, but then she ate her entire cookie in a matter of minutes- I mean when she started to eat the cookie I just turned my head away for a minute to read an email and when I turned back, not only was the cookie gone, so was GM and, as you know she uses a rollator, so it had to be fast! In any event, if you like smaller or larger cookies, just adjust the size of your dough balls, spacing and baking times accordingly.

Two Trayin’. If you’re in a hurry and want to increase your cookie production, bake two trays of cookies at once, but make sure to set up one rack in the upper center of the oven and the other in the lower center of the oven and to switch and rotate the trays half way through the baking time for even cooking.
Make To Order. The caramel should be drizzled to order on the cookies because leftover, drizzled cookies don’t store easily. Drizzled cookies need to be refrigerated due to the dairy in the sauce and the caramel sauce doesn’t set up enough to allow you to stack cookies without a sticky mess and the caramel would also stick to any parchment or plastic wrap layers or covers. Cookies without the drizzle are fine stored stacked and covered at room temperature for a few days, longer in the fridge and even longer in the freezer.
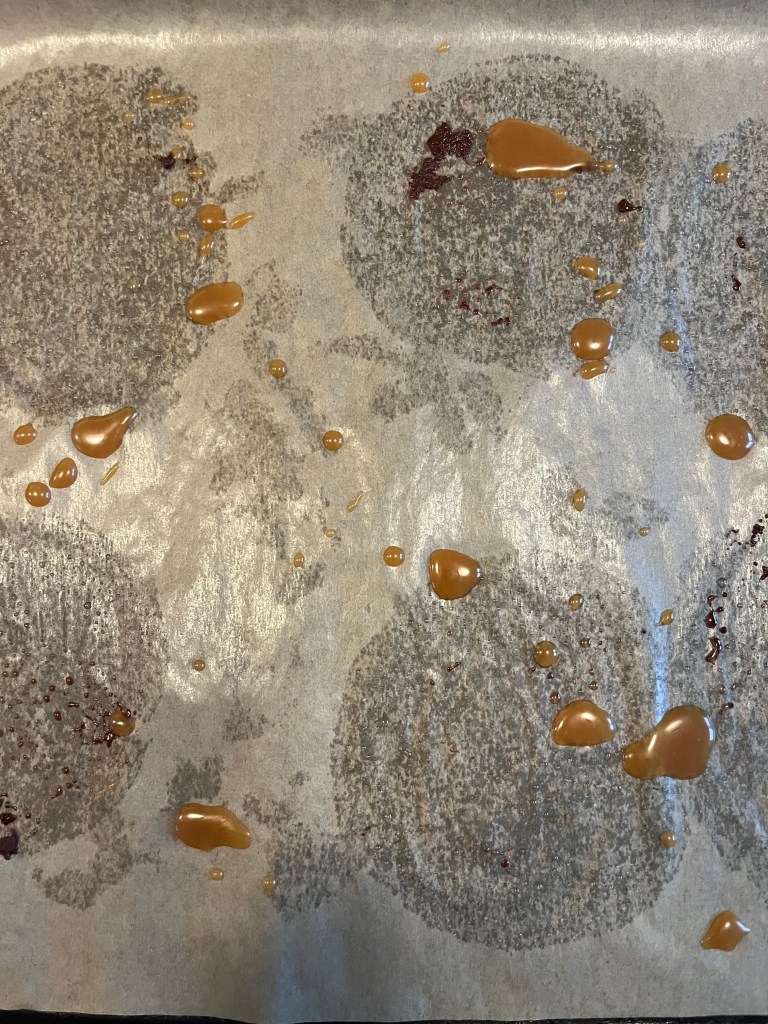
Easy Clean Up. Be like a real baker and decorate your cookies on a rack set in a sheet so any drizzle or other wayward embellishments fall to the bottom of the tray for easy clean up!
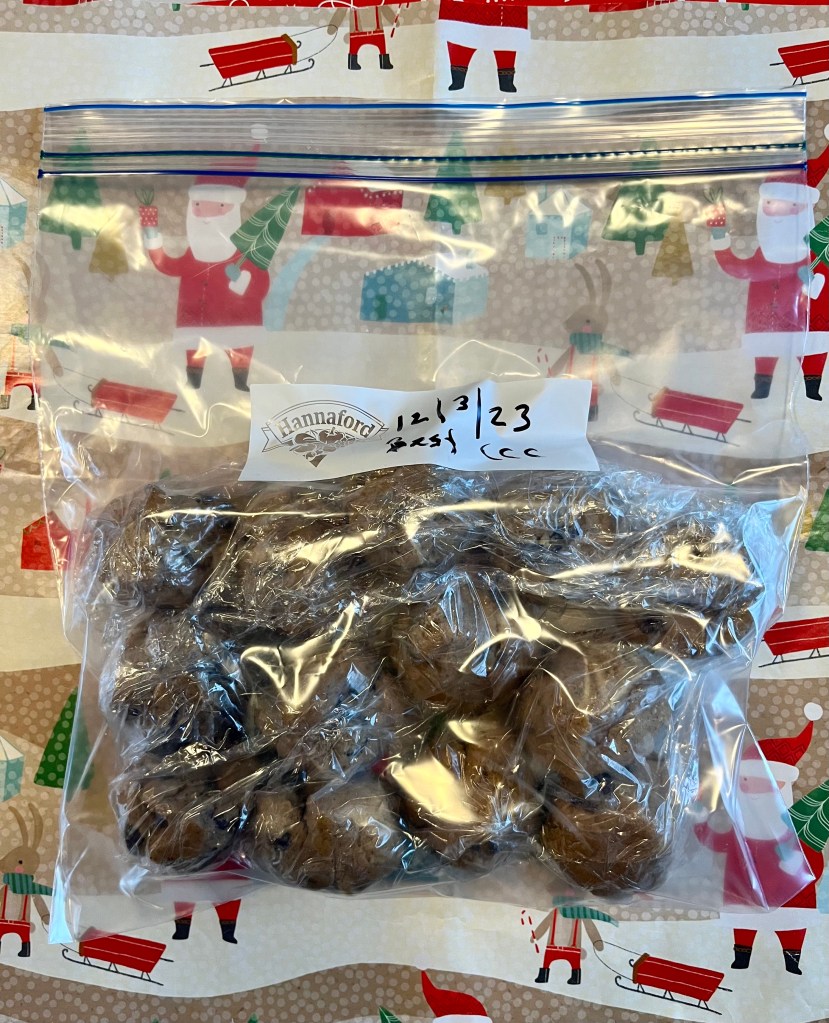
Freeze Frame. These, like most cookies, freeze very well. In fact, I am freezing the leftover dough balls (you could freeze the baked cookies too) in a freezer bag, with the air pressed out, until you kids come home for the holidays so Mom and I don’t eat them all.
Well aged dough balls are firm enough to go right into a freezer bag, but if you’re freezing room temperature or briefly aged dough balls, put them into the freezer for about 30 minute to firm up, which prevents them from morphing into dough clumps. The dough balls will be happy in the freezer for several month. They can be baked straight from the freezer, just add several minutes to the baking time until they are golden brown to your liking.
It’s A Wrap. Your Mom and GM love to wrap presents- me not so much. Last year, as you recall, I just used a big towel to “wrap” all of Mom’s gifts, taking the towel once she “unwrapped” the first gift and then using it to “wrap” the next one and so on.
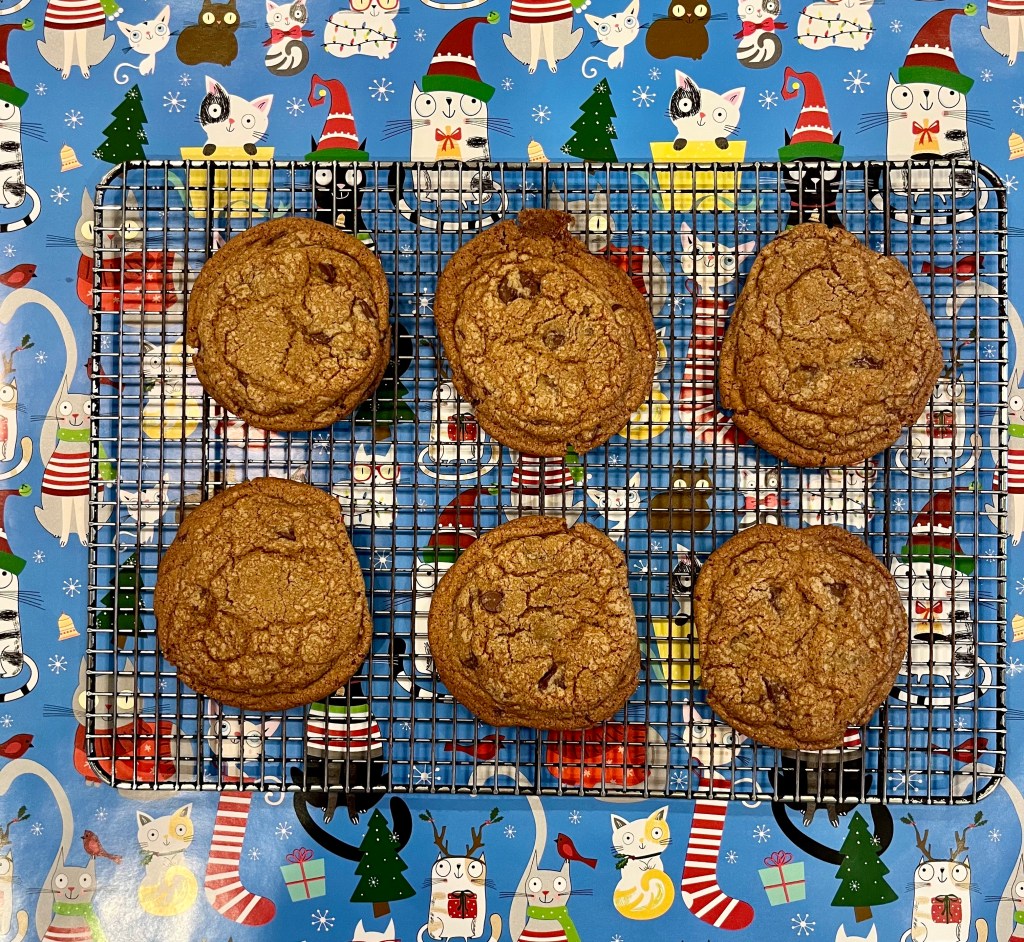
Nevertheless, I did get into the wrapping paper this year- raiding Mom and GM seemingly endless supply, to use as background for most of the pictures in this post. Just consider it as one of my “gifts” to you kids for this year. I hope Mom and GM approve and I hope you kids appreciate the effort. It was also eco-friendly because I returned the paper (yes, I know, not as eco friendly as not having any paper at all) to be reused once I was done.
Happy Hookie Cookie Day To All
And To All A Good Day!
© 2023 All rights reserved. Dad’s Dinner Diary
